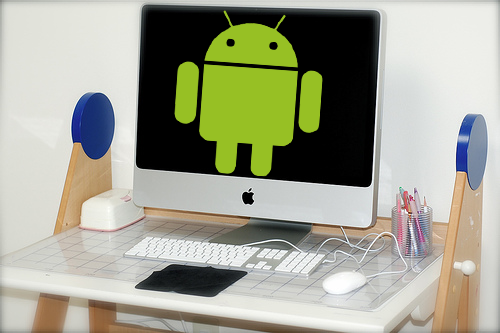
You may introduce the most recent form of android to test the applications or to give another life to your old PC. I'm certain you'll adore it. Alright! How about we head towards the "how to".
KitKat, the latest version of Android can now be installed on your laptop, notebook or even desktop.
Step 1: Download Androidx86
- Go to Androidx86 download page to download the latest version of Android.
- Choose “android-x86-4.4-RC1.iso”, this is KitKat the latest version of Android.
Step 2: Make USB a bootable Android installer
Note: If you want to use CD/DVD instead of USB, just burn the iso image to CD/ DVD. Turn on your computer, with the CD/ DVD inside your CD drive.
- Now that you’ve got the ISO file you need, it’s time to write it to a USB drive so you can boot from it and install android to your PC. There are two main programs for doing this: UNetBootIn, which is cross platform, and Linux Live, which is only for Windows but very straightforward.
- Use whichever you prefer. If UNetBooIn doesn’t work, try again with Linux Live, it will work.
- I don’t think I need to give instructions on how to use any of those two programs to create a bootable/ installer USB. (Anyways, on either of the program choose the drive letter of your USB, choose the iso image and click ‘ok’ or the lightining symbol, in case of Linux Live.)
Step 3: Install Android
Before you begin the installation process, make sure you change the boot priority to boot from USB or CD at the top.
- Boot from the Android-x86 installation CD/ USB, choose the ‘Install Android to hard disk’ item.
- After seconds of booting, you will see a partition selection dialog. You can choose an existing partition to install Android-x86, or you can create or modify partitions by choosing ‘Create/Modify partitions’. Note you can install Android-x86 to an external disk like USB drive. If the target drive is not shown, try ‘Detect devices’.
- Android-x86 can co-exist with other operating system or data in the chosen partition. You may choose ‘Do not format’ to keep existing data. If it is a newly created partition specially for Android, you may choose to format.
- Also note if you choose to format to fat32, you will see a warning that android cannot save data to fat32. You can still proceed to install, but the installed android system will work like a live cd system. That is, all data will be lost after power off. Therefore we do not recommend installing Android-x86 to a fat32 partition.
- Next it will ask you whether to install boot loader Grub. Usually you should answer yes, unless you want to install boot loader by hand yourself. Note the installer only creates boot items for Android-x86. If you hope to boot other operating systems, you need to add the item to /grub/menu.lst manually. See theAdvanced section for how to do this.
- If you are lucky, the installation will begin, and you will see the progress bar.
- Once the installation is complete, you can run Andrond-x86 directly, or you can reboot and run it.

Nice
ReplyDelete